
About four years ago I got the QNAP TS-459 as a network-attached storage (NAS) so I can store family pictures and backups of our devices. It came with QNAP QTS, which is the NAS’s user interface. I came across many issues with the responsiveness of this UI, as it tries to replicate a desktop environment with floating panes. It was slow and hard to navigate.
Recently, one of the four hard drives on the RAID5 array failed, and it isn’t long until failures pile up. This is when I regretted having a ClamAV scan run every week, which was very pointless and reckless to the wear-and-tear of the drives. Lesson learned!
The drives installed were 5TB Seagate Enterprise Capacity 3.5 HDD (v4), and since it is a bad idea to keep using these drives, I am ordering new ones after installing FreeNAS. Luckily, the system was not vendor-locked, and allows users to boot from a USB for recovery1.
The NAS drive has an HDMI output for its media center. Pressing Del
while booting the system loads the BIOS, where I could specify the boot order.
Unfortunately, I was not able to find the key which opens the boot menu
directly, and the BIOS doesn’t allow me to boot directly to a device. So I set
the USB device to have priority over the internal flash storage.
I booted Void Linux so I could check the partitions and see how the system was running (since I had a formatted USB laying around), and it appears that the entire system runs on half of gigabyte of flash storage.
Next I downloaded FreeNAS 11.3 and formatted it to a USB stick, I plugged in the installation USB and a second USB which I’ll install FreeNAS onto. The installation went smoothly and it booted to the FreeNAS selection menu.
After plugging in the Ethernet, I visited the NAS IP address, lo and behold, we are greeted by a FreeNAS login page.

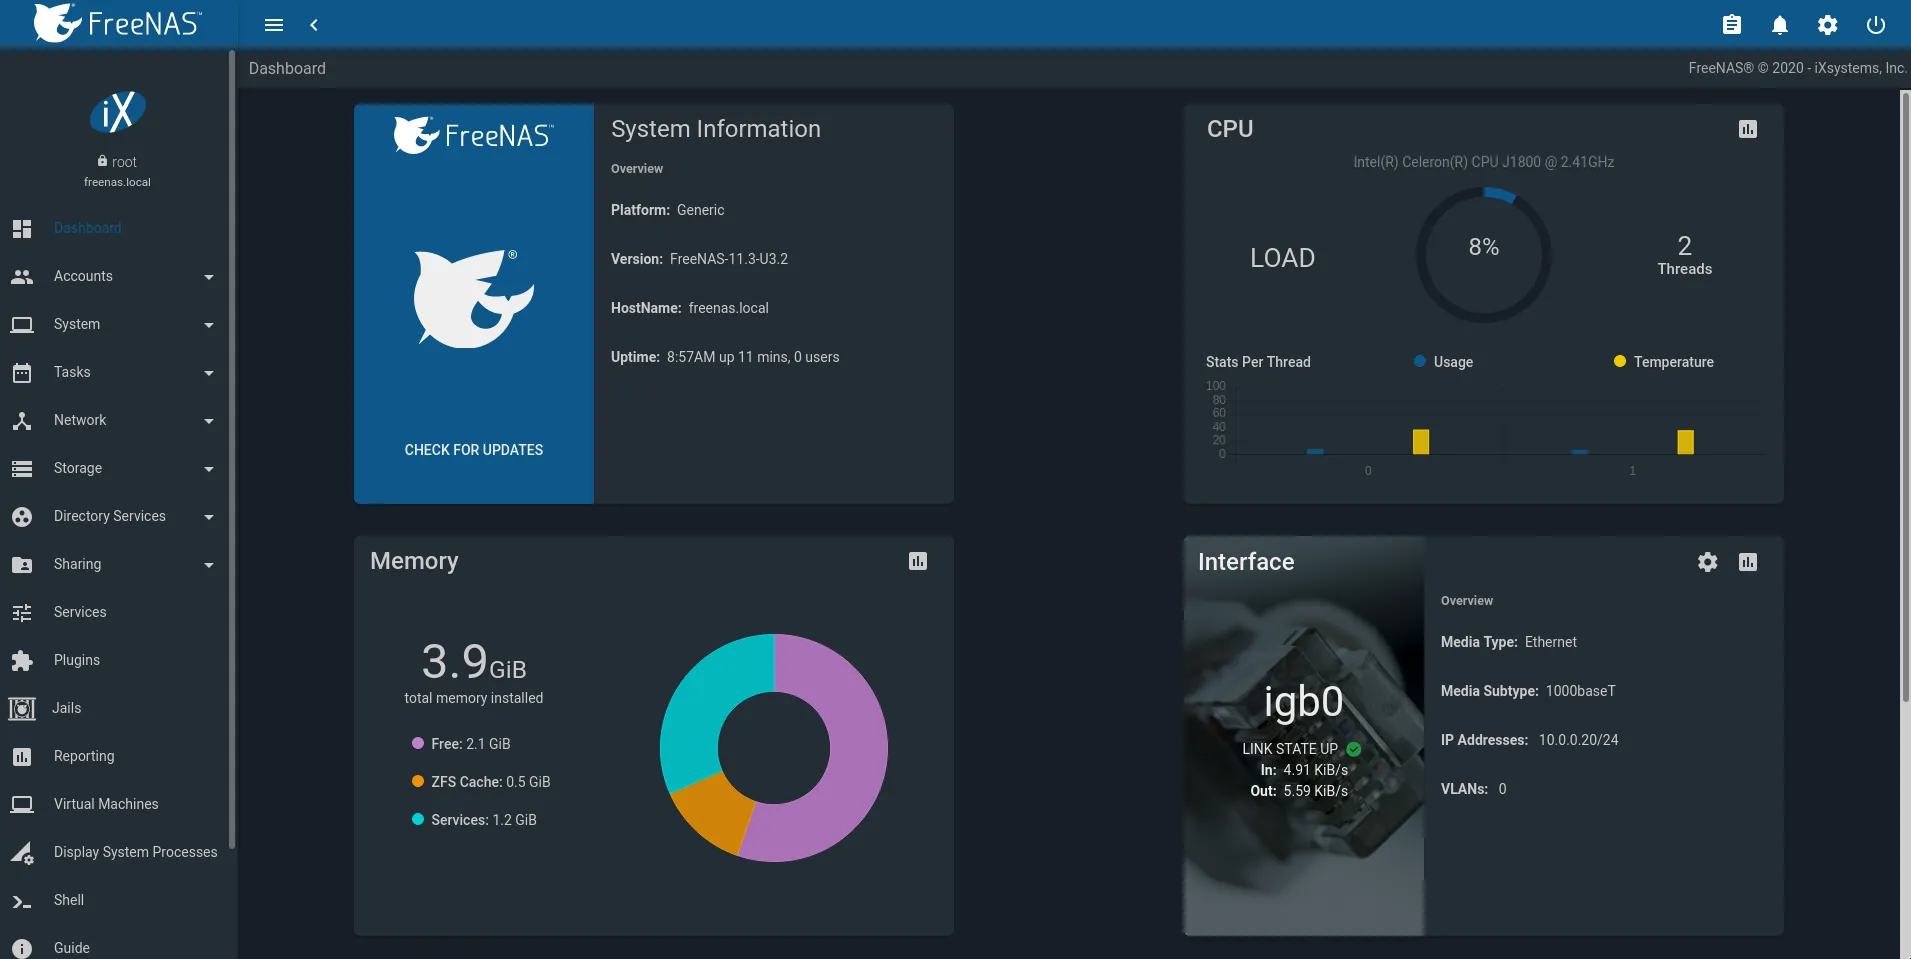
And the dashboard…
Since FreeNAS has no issues detecting the drives, the next step is going to be purchasing new drives to use with this setup.
This is my second post in the #100DaysToOffload challenge.
Footnotes
-
QNAP also provides a wiki page on booting a recovery disk and installing Debian on their systems. ↩